
Door draft stoppers work so well and at the same time they are pretty cheap, but still, if you want to save some extra bucks or have some fun doing an easy DIY project on the weekend then making a door sweep is not at all a bad idea.
Doors are one of the major elements of the room that allow the exchange of noise with the external environment, and most of the noise enters through that little space between the door and the floor. And since you’re reading this article I suppose I don’t need to tell you what these door draft stoppers are used for.
Though people use it for different purposes like:
- Soundproofing the Door.
- Eliminating the cold winds entering the room.
- Blocking the path for insects entering the room.
Let me know in the comment section below, what you’re going to use a Door Draft Stopper for?
In this article, I will tell you two methods and you can decide which one you want to use. So, let’s get started.
DIY Door Sweep (Step-by-Step)
Method 1:
Here is the list of things you gonna need for this DIY project:
| 1. | |
| 2. | |
| 3. | |
| 4. | |
| 5. |
1. Measure the width of the Door
The first and the most important step of this whole process is taking precise measurements. Once you’re done measuring the width of your door, note it down and you can move on to the next step.
The width could vary from door to door, Most common size is 36 inches and in some cases, you can also 42 inches.
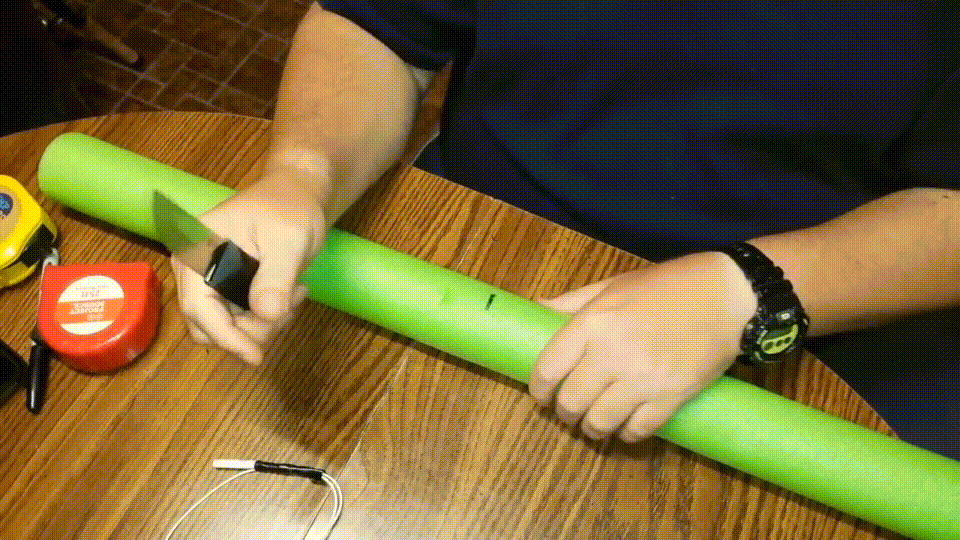
2. Cut the Foam Pipe
With the help of the measuring tape, mark the Foam Pipe as per the measurement noted in the previous step. After marking it, you can simply cut the foam pipe down the center with the help of a knife or a scissor, I personally prefer a knife.
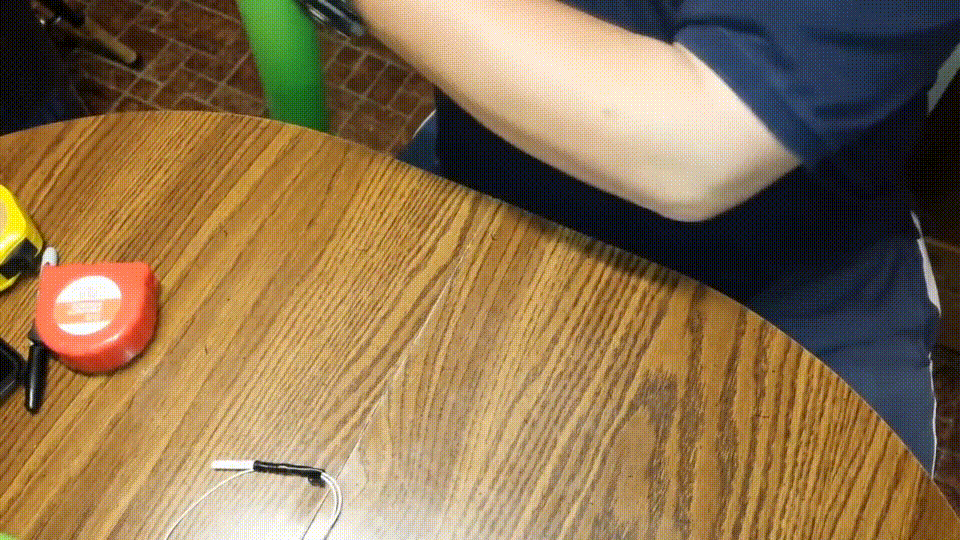
You can verify the length of the door sweep by simply placing it along the bottom side of the door.
Also Read: How to Soundproof a Door like a Pro!
3. Make 2 equal halves
A foam pipe is a cylindrical structure and in this step, we’ll be cutting this cylindrical pipe along the length into 2 semi-cylindrical pieces.
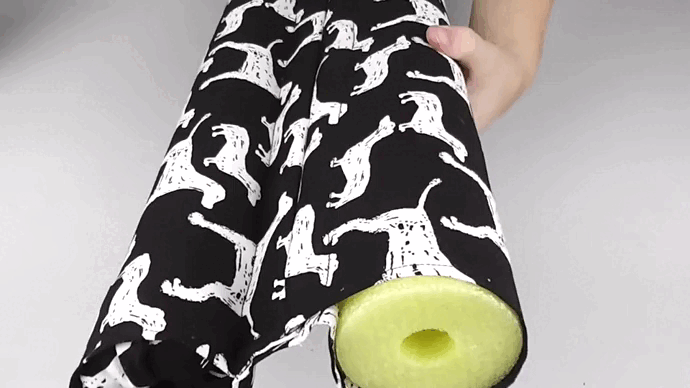
4. Wrap the Pipe with the Legging
Join both the semi-cylindrical pieces and wrap them with the help of a legging. The elastic material of legging would help the door draft stopper to fit in completely holding the door tightly along the floor.

5. Install the DIY Door Draft Stopper
The last step is to install your DIY door draft stopper. Be careful while installing it, make sure there is no air gap between the floor and the door. The door sweep should fit in properly and while moving the door you should feel a little resistance.
Method 2:
So, this was the first method for making your DIY door draft stopper, it works for most people but in case you love DIY and wanna do some extra work on it, you can try a different method and here’s what you gonna need for that:
- Measuring Tape
- Scissors
- Fabric / Cloth
- Sewing Machine
- Thread
- Insulation Foam/Foam Pipe
In this method, we will be making a small cylindrical pillow filled with insulation foam. This pillow will act as a door draft stopper.
1. Take Measurements
The first step is the same as the previous method, we gonna measure the door’s width and note down the readings. Take the measurements carefully.
2. Cut the Fabric / Cloth
The next step is to measure the fabric as per the door’s width and cut it out. The thickness of the pillow would depend on the gap between the door and the floor, this pillow should fit airtight under the door but make sure the door is movable.
| S. No. | Length of Fabric | Width of Fabric |
| 1. | 29’’ (73.66 cm) | 23’’ (58.42 cm) |
You might end up jamming the door if the thickness of the pillow is more than required.
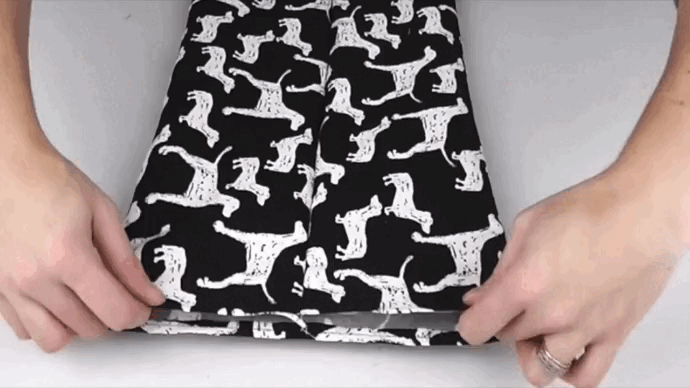
3. Fold and Stitch the Fabric
If you have completed the previous step, then you will have a piece of fabric in hand. Fold this piece of fabric along the long sides so that it forms a cylindrical structure. Now, you just have to stitch the fabric along the edges to form a small pocket like a pillow.
Also, stitch this cylinder along the centre so that it forms two mini cylinders within a cylinder as shown in ht gif below.
4. Fill the Insulation Foam
The last step is to stuff the pillow, you can use soundproof insulation foam for the filling. There are a lot of other options available in the market as well. Or you can use beans from your wasted bean bag, sand, flour, etc for the filling.
You can also use Foam Pipe that we used in the previous step for the filling.
5. Install the Door Stopper
The final step is to install the draft stopper carefully.
So these were the two methods I would use for making a DIY door draft stopper. You can even create your own methods by adding some customised touches.
In case, you don’t know the door draft stopper has an alternative called “Door Sweeps.” Both the door sweeps and the draft stopper serve the same purpose of soundproofing the door and eliminating the airflow from under the door.
Door Sweeps doesn’t completely create an airtight packing between the door and floor, instead, they’re installed on the door leaving a very tiny space between the door and floor.
You can also check out Automatic Door Sweeps available in the market, these door sweeps automatically activate when the door is closed, and whenever you move the door these sweeps would automatically deactivate offering frictionless movement.
Conclusion
Door draft blockers are great for soundproofing the door or eliminating any wind or air entering the room beneath the door. The two methods I told you in this article are super easy, and even if you’re a newbie in DIY, these projects are definitely gonna make your weekend super fun.
The best part is that you get to see the immediate results, so you can test your product right away after installing it.
Let me know in the comments,
Which filling are you gonna use for your Door Draft Stopper?
I would love to see your answers, and in case you have any questions, you can ask me in the comment section below.